
My friend has recently had a baby, and I wanted to make something special for the little one. So after searching online I found a great website called madebymitch. And on this site, Mitch has created a really cool wooden baby rattle. So I decided to first try and replicate his rattle, and then see if I could make some modifications to the original design.
Marking up the wood
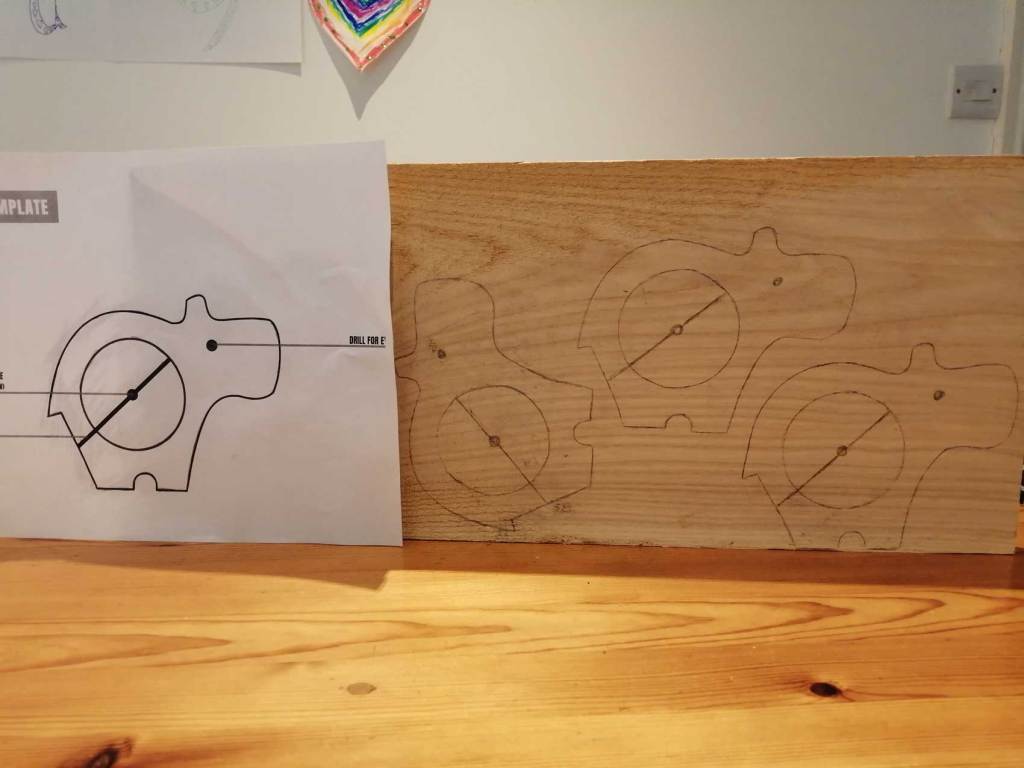
This is the template which I got from Mitch’s website, and you’ll see I’ve marked up a piece of wood. I used ash because that’s what I had. But I would have preferred to use a closed grain hardwood such as maple or beech. These woods have smaller pores so are less absorbant. If you can get those, I’d recommend you use them for this project.
How I made the wooden baby rattle
Once everything was marked up I first cut out the big hole with a hole saw. I saved the cut-out for later (I’ll get to that shortly). I then drilled the eye and cut out the hippo shape on the bandsaw.


And then it was time for lots, and lots, and lots of sanding. I used a bench sander, random orbital sander, various files, and regular sandpaper. I sanded that thing till my arms fell off because I wanted to make sure it was totally smooth and safe for the baby.

Then I cut out some small pieces of wood to make the rattling sound and sanded them smooth. And finally I finished everything with mineral oil which:
- is food safe
- won’t go rancid
- won’t support microorganisms
- conditions the wood
- acts as a water repellant barrier
And this is what I had so far. You’ll also see a 6mm dowel which will act as the axis for the spinning pieces.

Now you’ll remember I said at the start that I set aside the cut-out from the holesaw. Being an eco-friendly woodworker I’m always looking for ways to use waste material, no matter how small. And I decided to make another mini rattle from the cut-out, rather than just throw it away. So I drilled a hole in it and sanded it smooth. Actually by that point I was worn out so I recruited my dad to do this bit. Thanks Dad!
And when I put it all together this is what I had.

A new design
I then decided to play around with the design. I spent lots of time making sketches and thinking about different variations but couldn’t quite find a solution. So I asked my wife Zuzana and within 5 seconds she gave me the answer, which you can see here.


It has an additional moving part with sort of a gyroscope effect which adds a bit of interest. It’s also something else for the little one to get his gums around. There’s an infinite number of variations to this rattle so I’ll certainly continue to experiment and come up with new versions in future.
And there you have it. A lovely, hand-crafted gift for my friend’s new baby. If you’d like to make one of these, or have one made for you, feel free to contact me. Or you can receive my newsletter to get the latest news, updates and projects straight to your inbox. Alternatively I can highly recommend Retro Kids where you can find a nice range of high quality wooden toys.